Step Five: Building the Wooden Clock Tower.

First, a hole in the roof of the studio had to be cut.
Frames for the sides and front of the tower are assembled. |
|
. Because they were VERY heavy, |
|
Plywood sheathing was then cut and nailed on to the frames. |
A small section at the back of the tower, called a "cricket", |
|
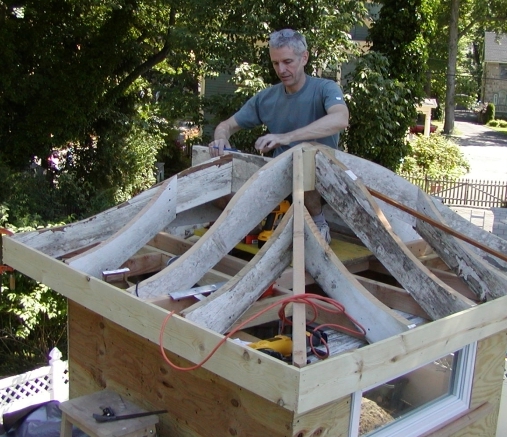
A complicated, curved roof was constructed, |
A view of the inside of the tower, looking up. |
Insulation is inserted in the walls. |
(Note the curved section for the weight drop) |
Finally, pine paneling (scavenged from the house next door) |


So the tower is completed. Waiting for external shingles and the insertion
of the clock dial.
(Note the sheathed roof, with the hole for the chimney.)